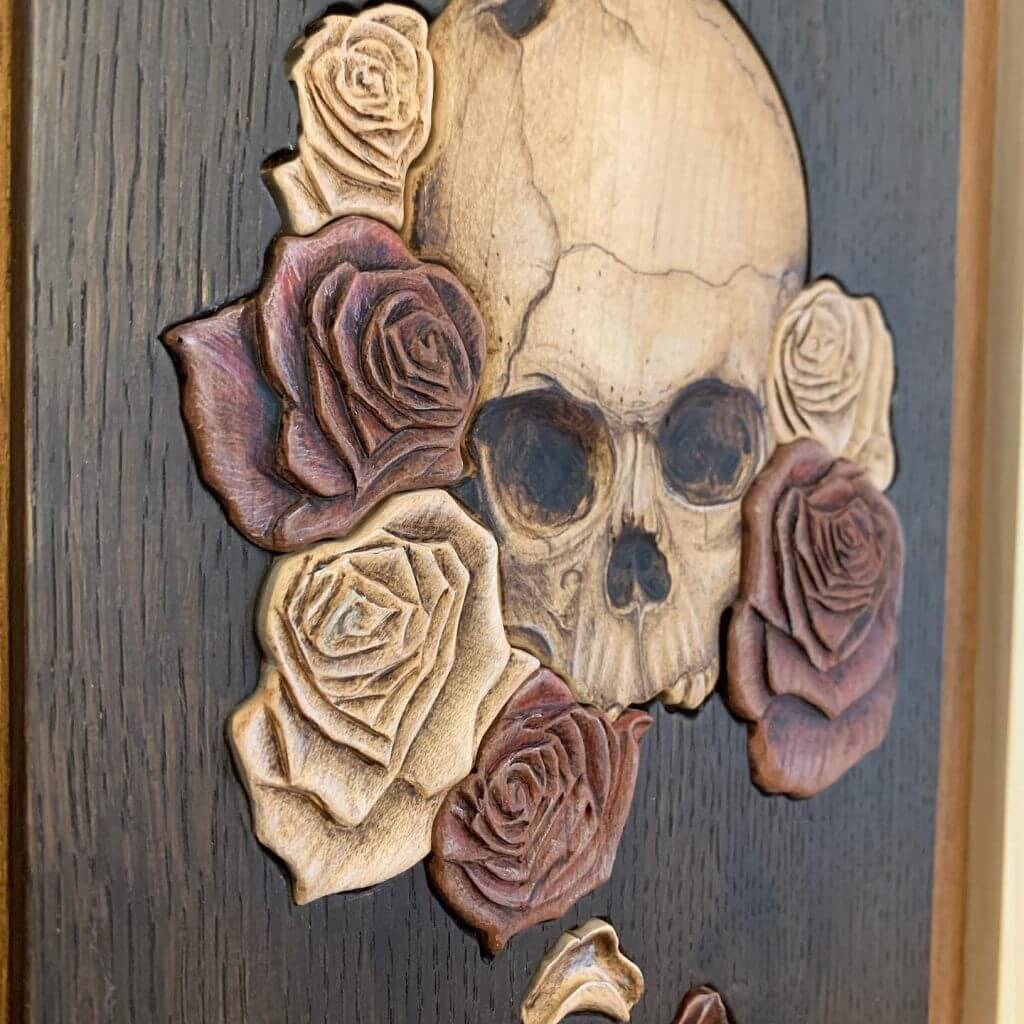
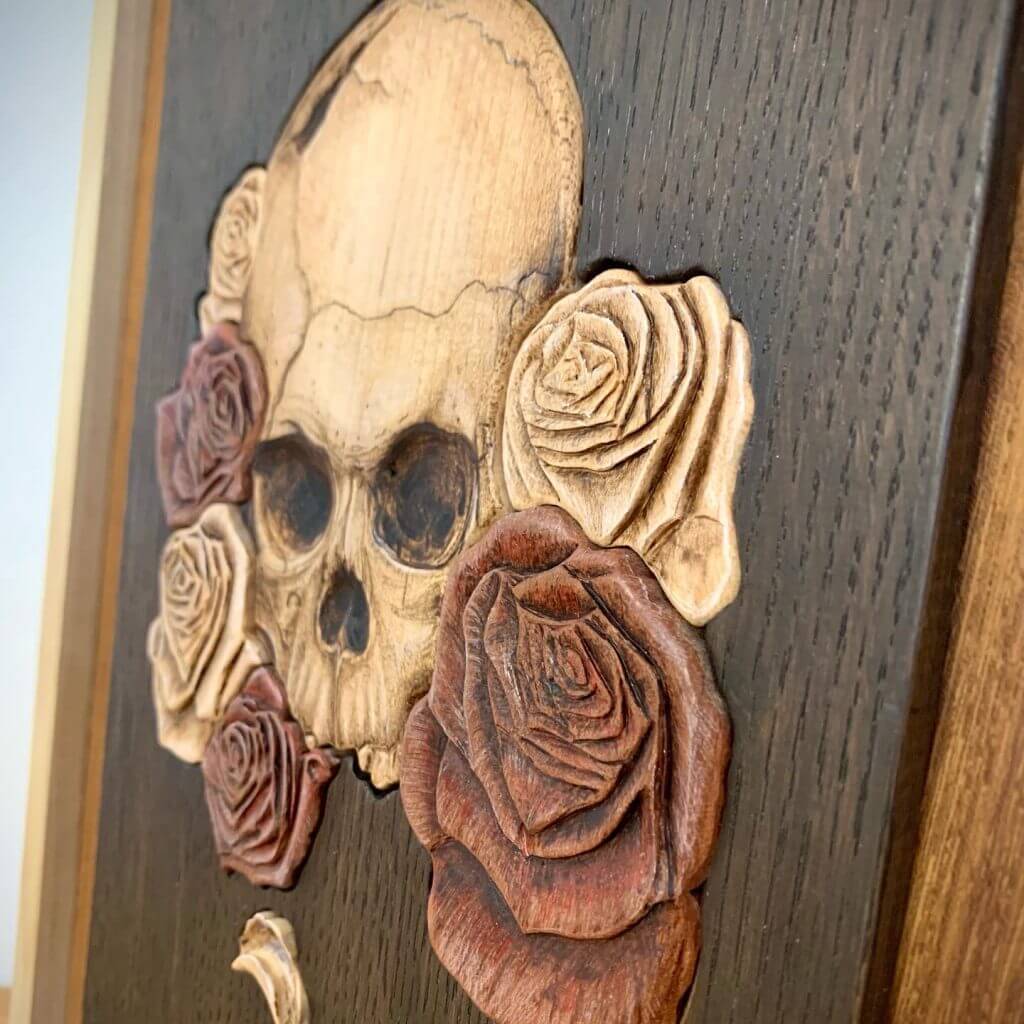
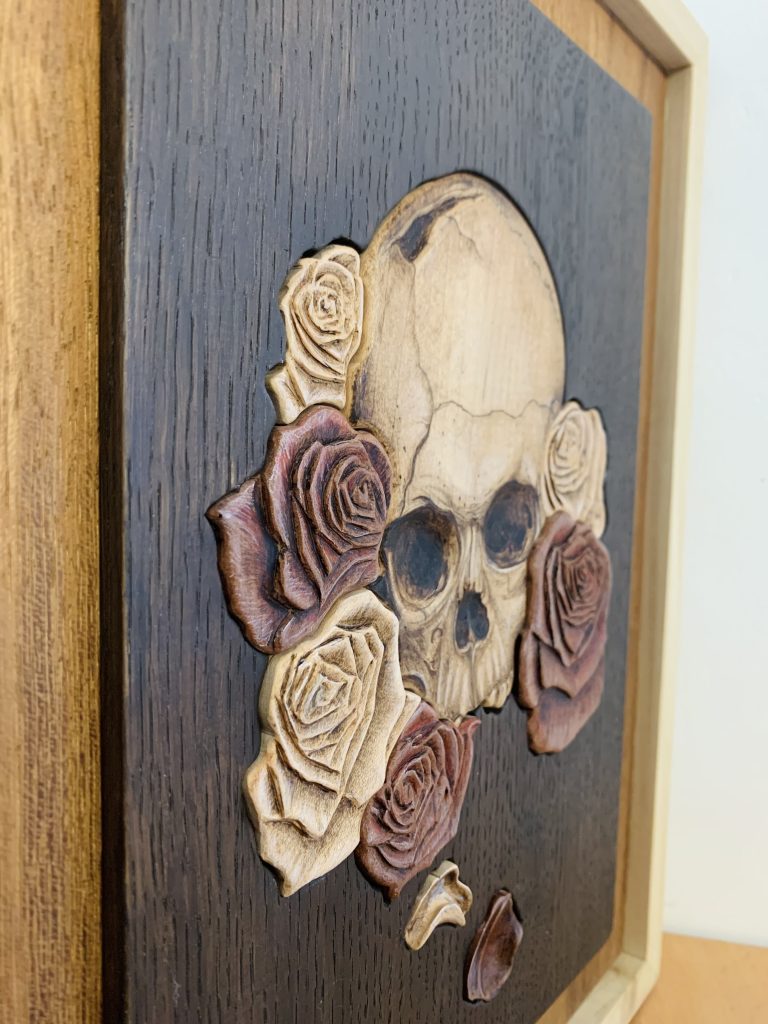
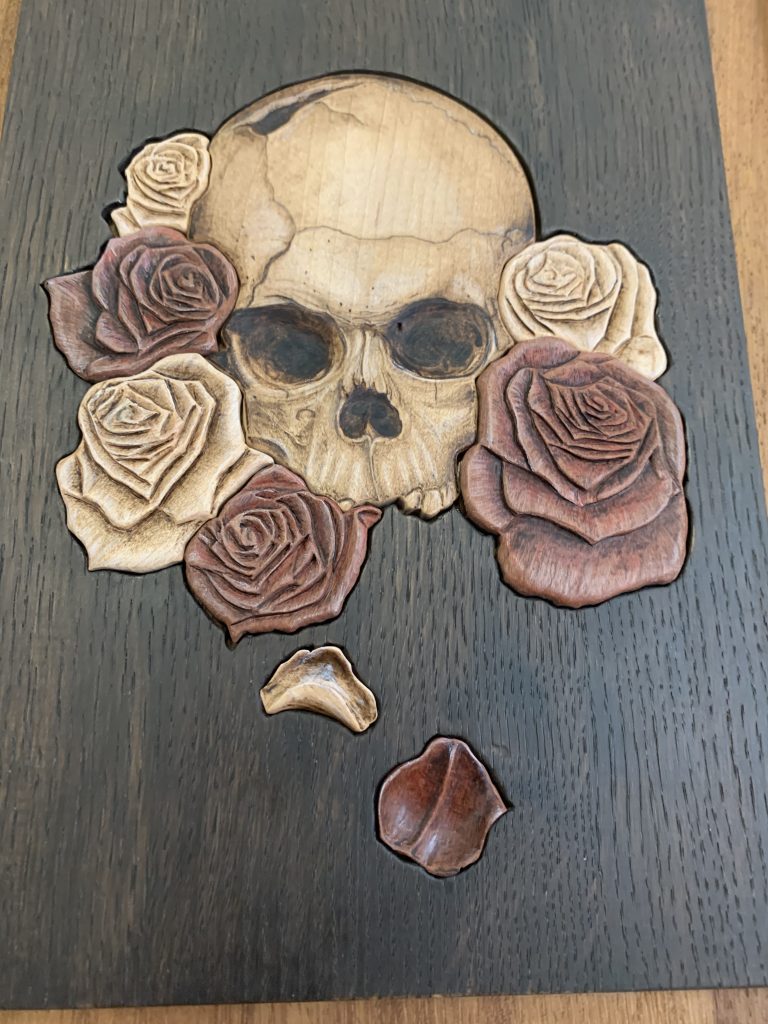
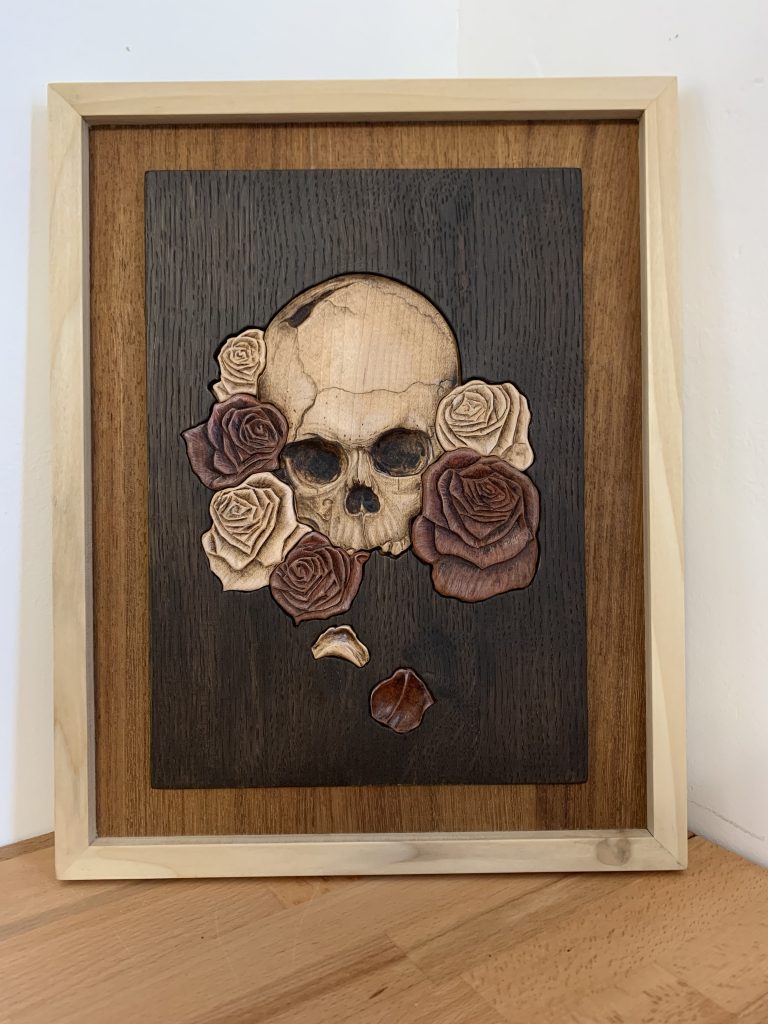
Hey there! In this post I’m going to be talking about how I made this Skull and Roses woodworking project.
Some of the mediums I used are still relatively new to me, so I may not have used them in the most efficient way. I just found the best way that worked for me. So if you have a better way and would like to share, then please feel free to comment and let me know how you do it.
Full YouTube Video at the bottom of this post.
Tools used:
- Scroll saw
- Orbital Sander
- Drill or drill press (whichever you have)
- Wood glue and CA glue and Pritt stick
- Dremel Fortiflex, Dremel 4000, or any rotary tool you have.
- High speed cutters (125) (118) (Dremel) for the flowers
- High speed cutter (144) (192) (Dremel) for the skulls eyes
- Dremel versatip with pyrography tip or any wood burning tool you have.
- White and red soft lead coloured pencils
- A few print outs of the picture.
Wood used:
- Iroko (back board of the frame)
- Tulipwood (Edging of the frame)
- Mahogany 8mm
- Oak 6mm
- Maple 6mm
It started with the skull and roses picture, I’d saved it from the internet early last year and it’s been on my laptop ever since. Its by an artist called Rodger Pister, and as soon as a saw it I fell in love. I knew I needed to do something with it.
My husband Phil keeps me well stocked up with frames so I chose this one with Iroko on the back and Tulip wood mitred frame. So I just needed to re-size and printed the picture I wanted, and then the exciting part came and I went in search of different types of wood to use.
I chose some 6mm Oak for the dark background and stained it the darker colour. The skull and the white roses are made from Maple and the red roses I used Mahogany.
First Step:
Working out the layers
So lets jump right in with this skull and roses woodworking project.
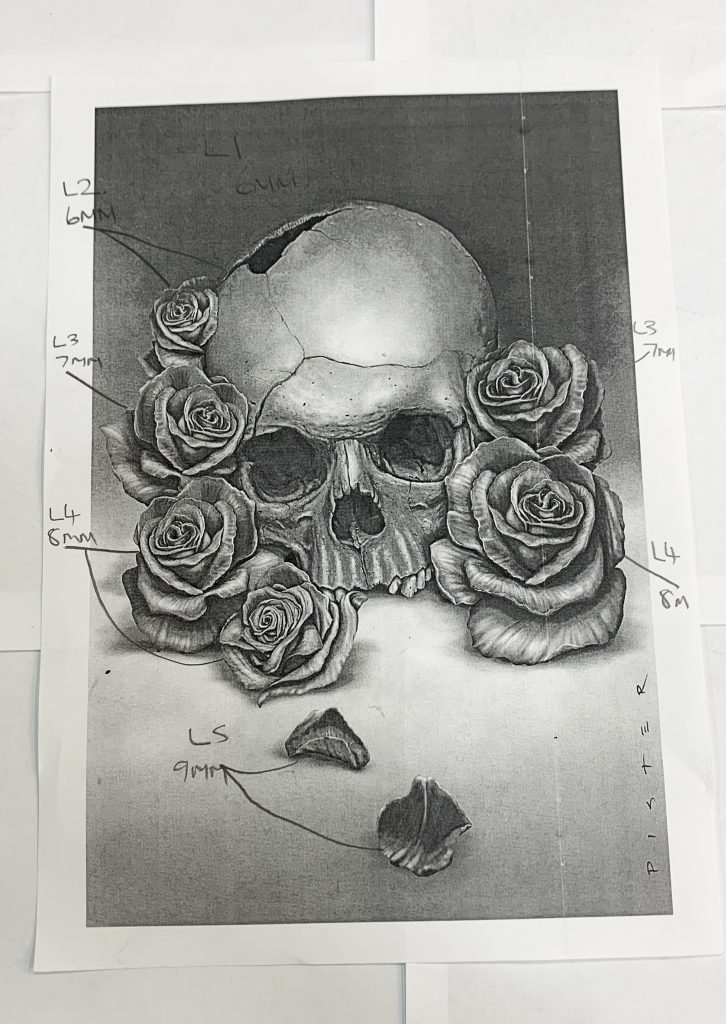
First thing was to number all the parts. And for each layer I wrote down what thickness of wood I wanted to use. The next thing I did was to sand all the wood pieces, and place masking tape all over the piece of oak and used Pritt stick to glue the picture to the oak on the masking tape side.
(I used masking tape on the wood first so I didn’t have to scrap the glue and paper off the oak).
Step two:
Drilling and cutting out the skull.
For the first layer (Layer 1) I only wanted the outside piece, so I pre-drilled all the holes for the scroll saw blade on the inside of the picture. (Skull in the picture below was the waste).
After I cut out the back plate, it was time to hand sand all the edges.
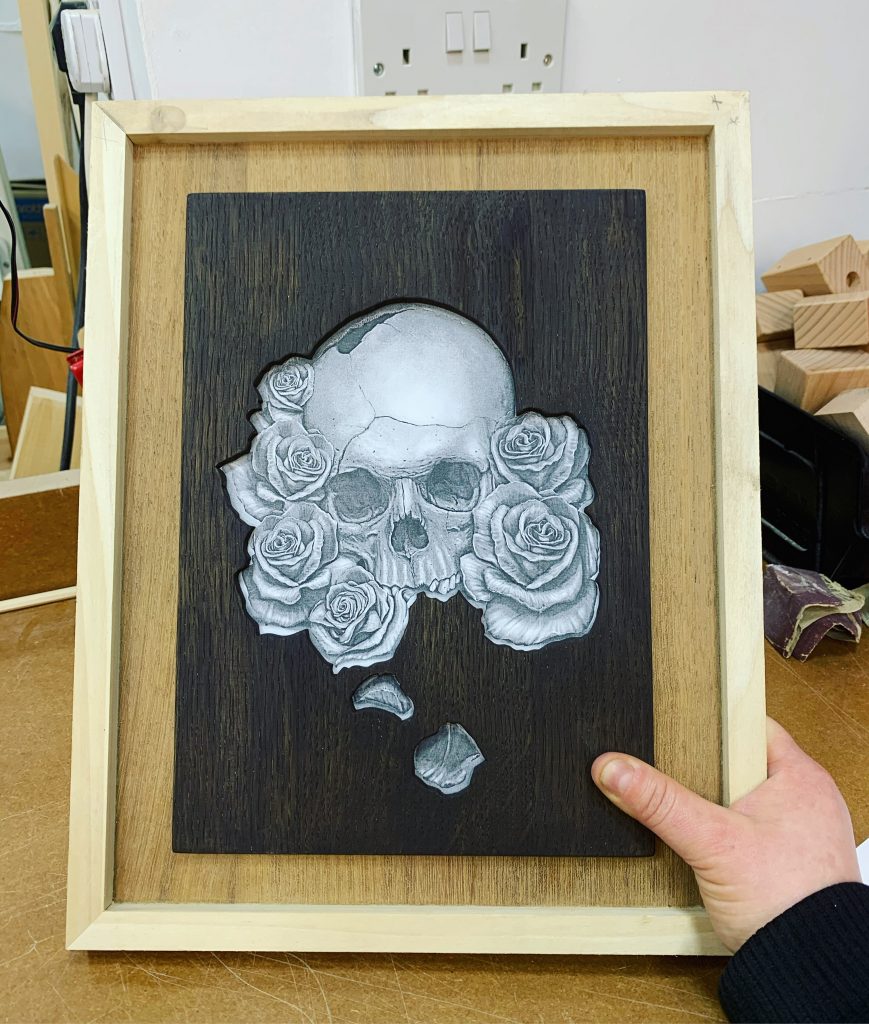
I was going for a contrasting look but I didn’t have a stain that was dark enough, so I improvised, I mixed some black and brown acrylic paint and added some water. Which I applied the paint to the oak back plate using a damp rag.
This still left me with the beautiful grain of the wood but I had the colour I wanted! I call that a win!
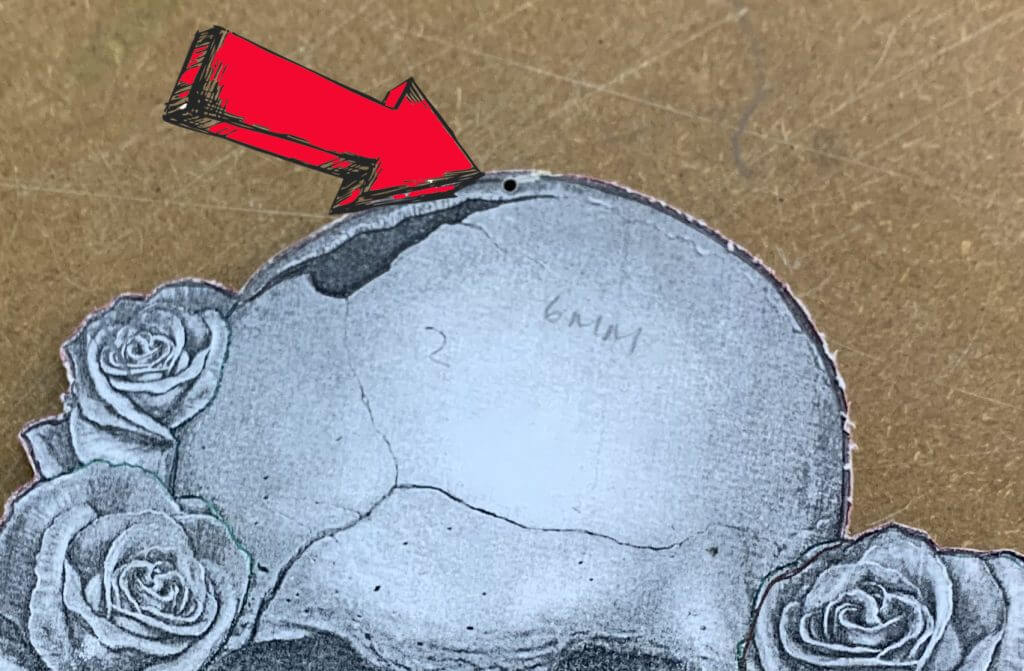
The video below is how I cut the skull out, just a reminder I didn’t want the skull on this layer, only the outside piece as a backplate.
Step three:
Cutting out the skull and carving the features
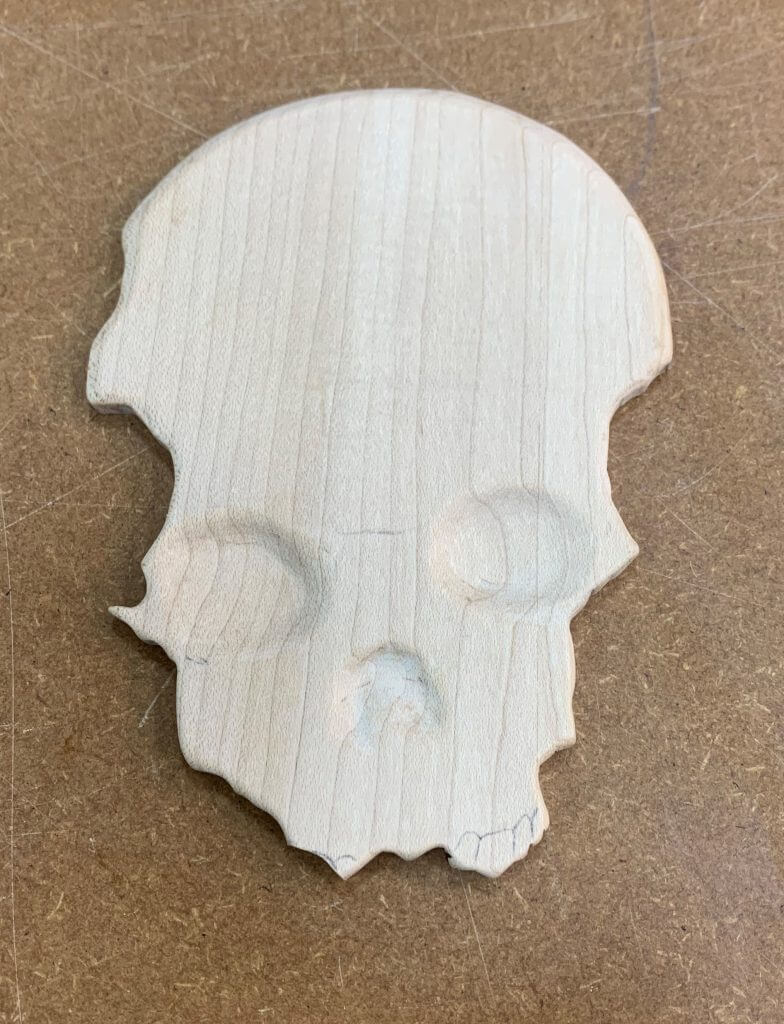
Next I cut out the skull, this time I used the Maple because I wanted a lighter wood. But I kept the thickness at 6mm so it would match with the backplate. I used a Dremel (117) high speed cutter to carve out the dips in the eyes and nose. Once I finished carving, I sanded all the edges and made sure it fit into the backplate.
Step four:
Cutting and carving the flowers
I forgot to take pictures or a video for the cutting out of the flowers, but all I did was trace the flowers on to the mahogany and maple using the graphite paper.
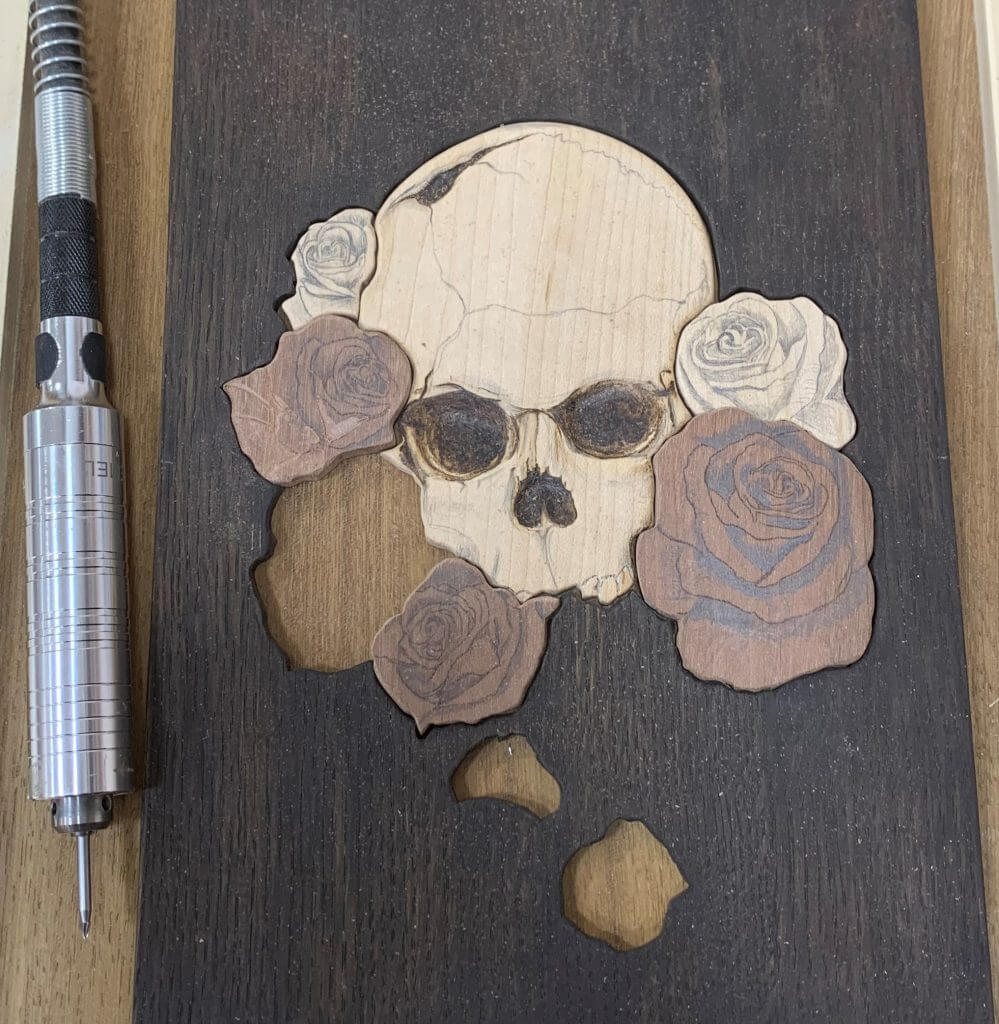
On the picture below you can see where I have pencilled in the darker details so I knew that I needed to go deeper on these parts of the petals. I used a Dremel (118) and (125) high speed cutters to make the passes over the darker areas. This gave the flowers a 3D look.
Once all the petals were carved I went over all the edges with a Dremel (144) burr, to round off all the edges. This gave to flowers a more realistic and softer look.
Oh and don’t for get to sand each one and get into all the nooks and crannies.
( Tip: Let the burr do the work, and don’t push down onto your wood. Your best to do multiple passes rather than try and remove the wood all in one go).
Step five:
Glue, Glue and more Glue
OK, So the video below is pretty self explanatory! All I did was glue all the pieces into the right places and leave it to dry over night.
Step Six:
Wood burning the details.
As you can guess by the title, step six is lots of wood burning! I had started wood burning some of the details onto the skull previously. To be honest I was being impatient and really wanted to see what it would look like 😉
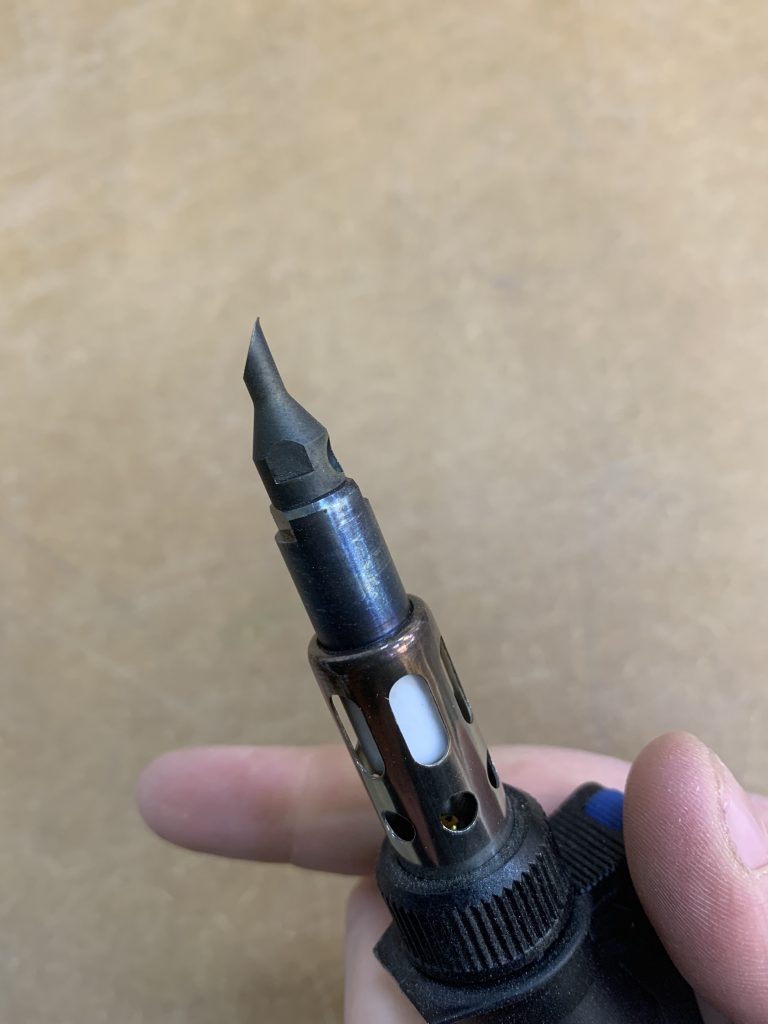
I used the Dremel versatip for the darker areas, I find the Versatip burns quite dark so its great for adding real depth to the wood.
I’m not sure what the tip is called but its from the Dremel pyrography set, I’ll post a picture below of the tip. The pointy end enabled me to burn the underside of the petals really well .
Second to last step:
Yay!! Its nearly the last step! Time to add the finish.
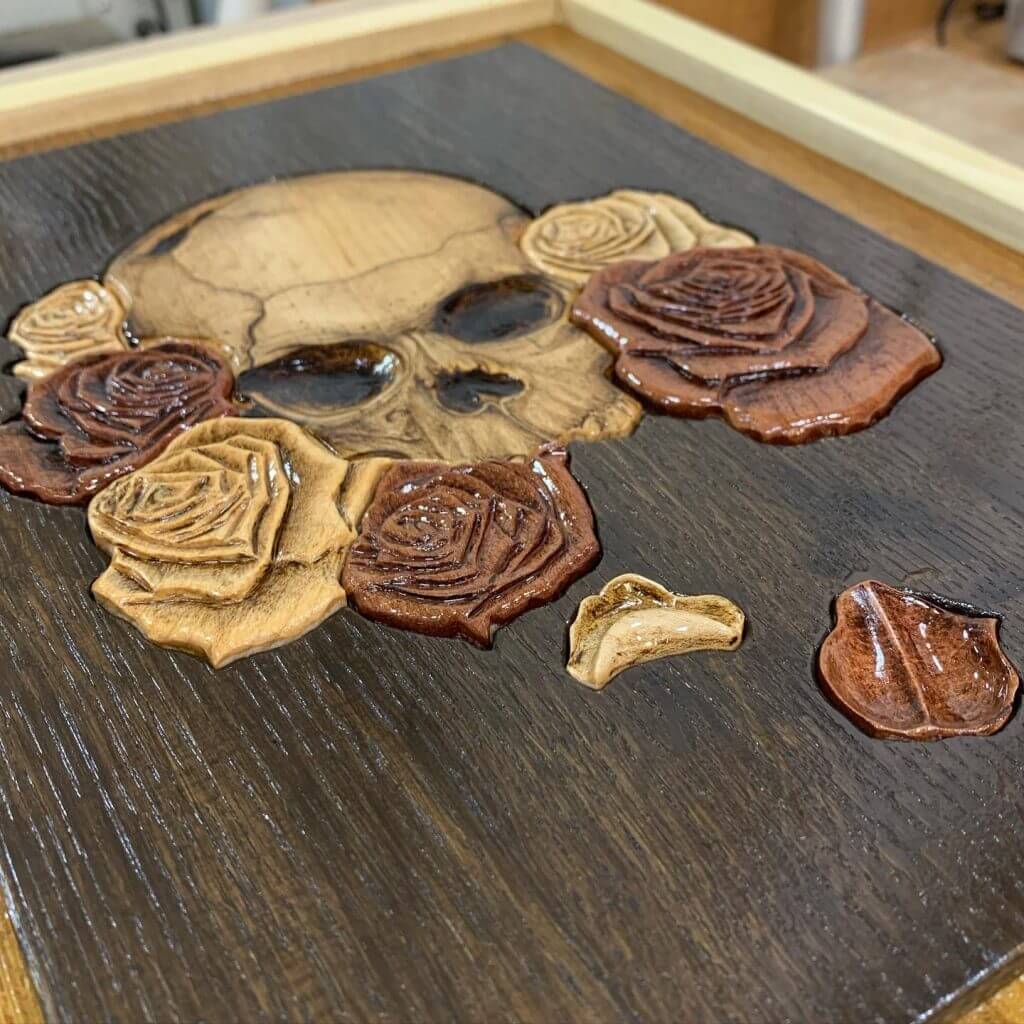
The finish I used for this piece was Osmo Polyx – Oil Clear matt 3062. Although this applies very shiny and seems to stay shiny for quite a while, it dries matt and was just perfect. ( It stayed shiny for that long I had to double check I’d put the right finish on) 🙂
Final Step:
Step back and admire the view!
I really enjoyed doing this skull and roses woodworking project, it has pushed my skills and now I’m ready for more. I hope you found this article helpful? What are some of your favourite ways to create amazing artwork? “leave a comment below,” “I’d love to know what you think,”
You can find us;-
Instagram Spirit and Bear
Pinterest Spirit and Bear
Feel free to checkout our shop
