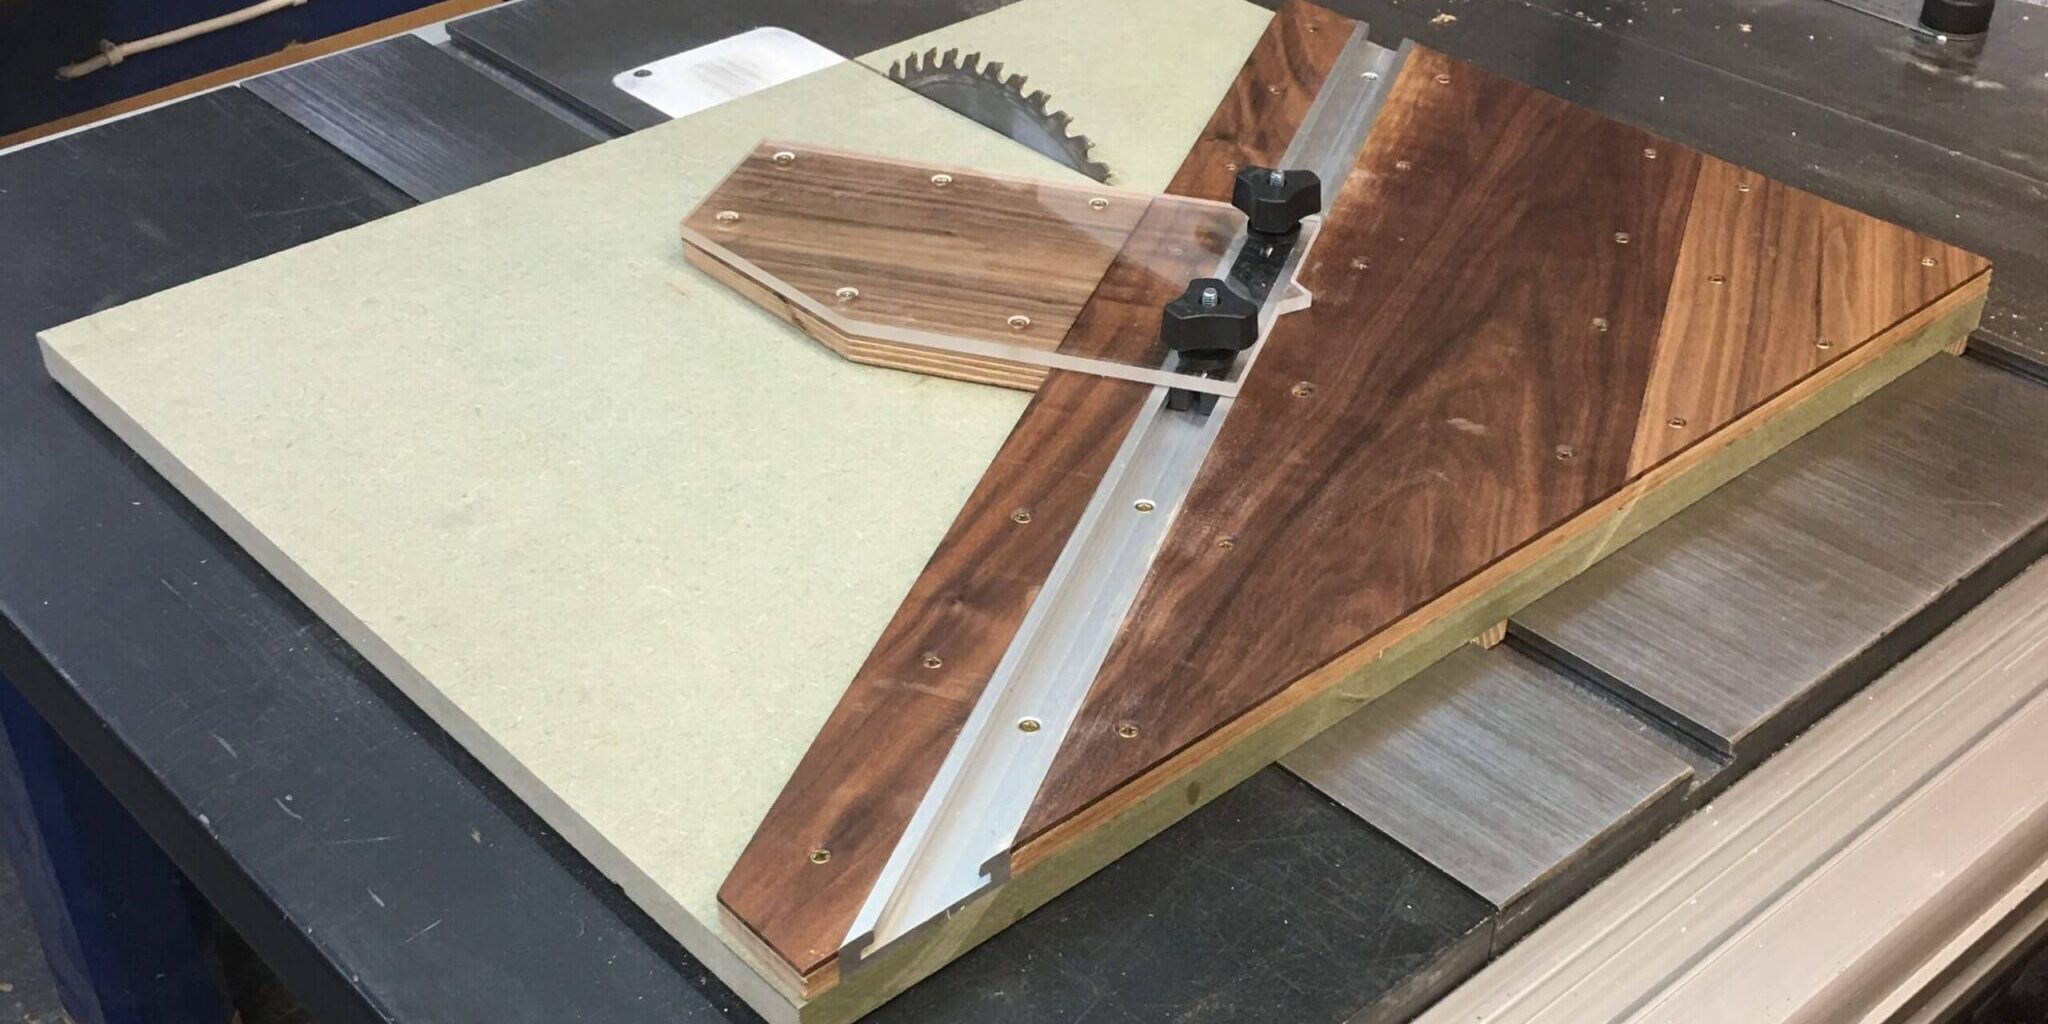
We work on quite a few projects that require us to cut multiple accurate hexagons with minimum waste, the first one we made was for a fixed size which worked fine but it was a lot of hassle to change the size when we needed to so we set about creating an adjustable jig for the bandsaw.
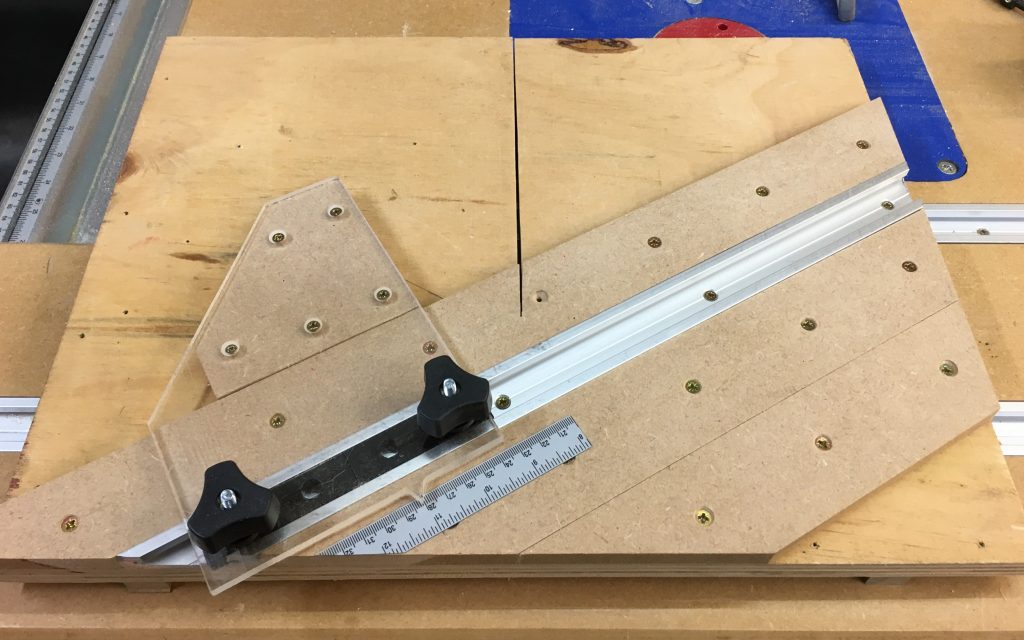
This basic guide on how to make this jig applies to both the tablesaw version and the bandsaw version we have used the tablesaw for this because we had not got a jig for it
Materials
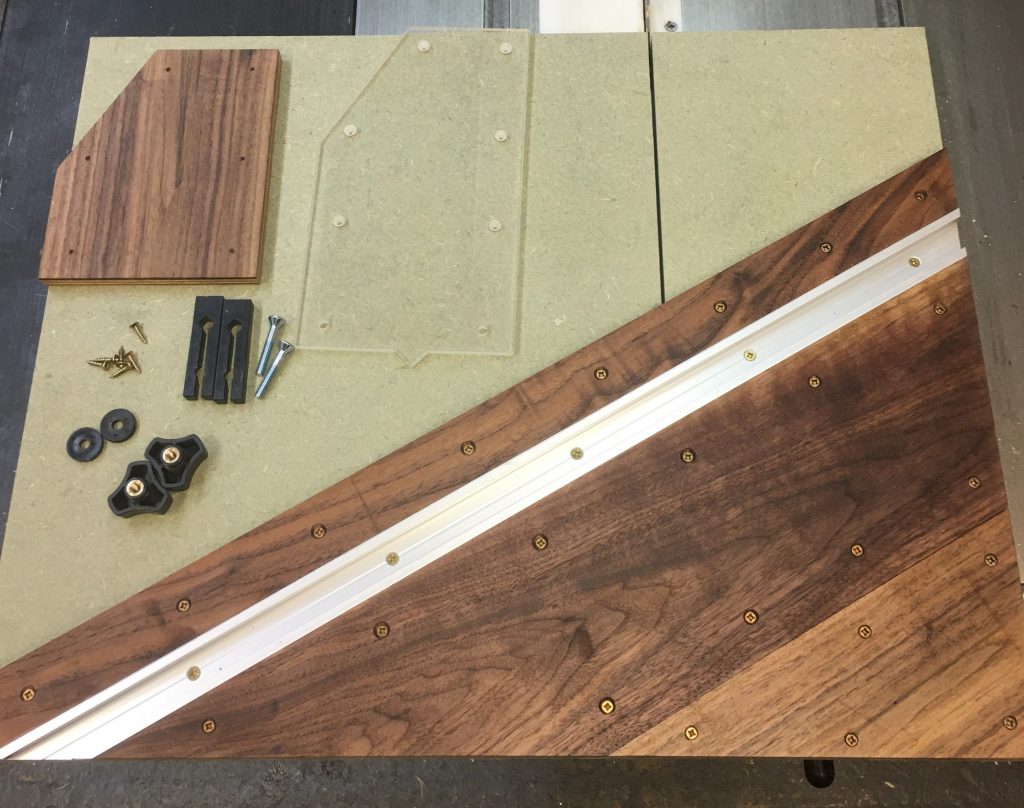
As far as materials go we used what we had lying around but below is a short list of what we used
- a board big enough to serve as a base for your saw, plywood or mdf is fine
- 1 or two lengths of hardwood or plastic to serve as runners for your mitre slot
- 12mm ish plywood or mdf to serve as the fence and track
- a length of T track (this is purely optional but does not wear as much as forming the slot with wood
- 6mm perspex (again optional you could use wood and get the same result)
- A couple of pinch clamps for T track (again they can be made from wood or plastic)
The Base
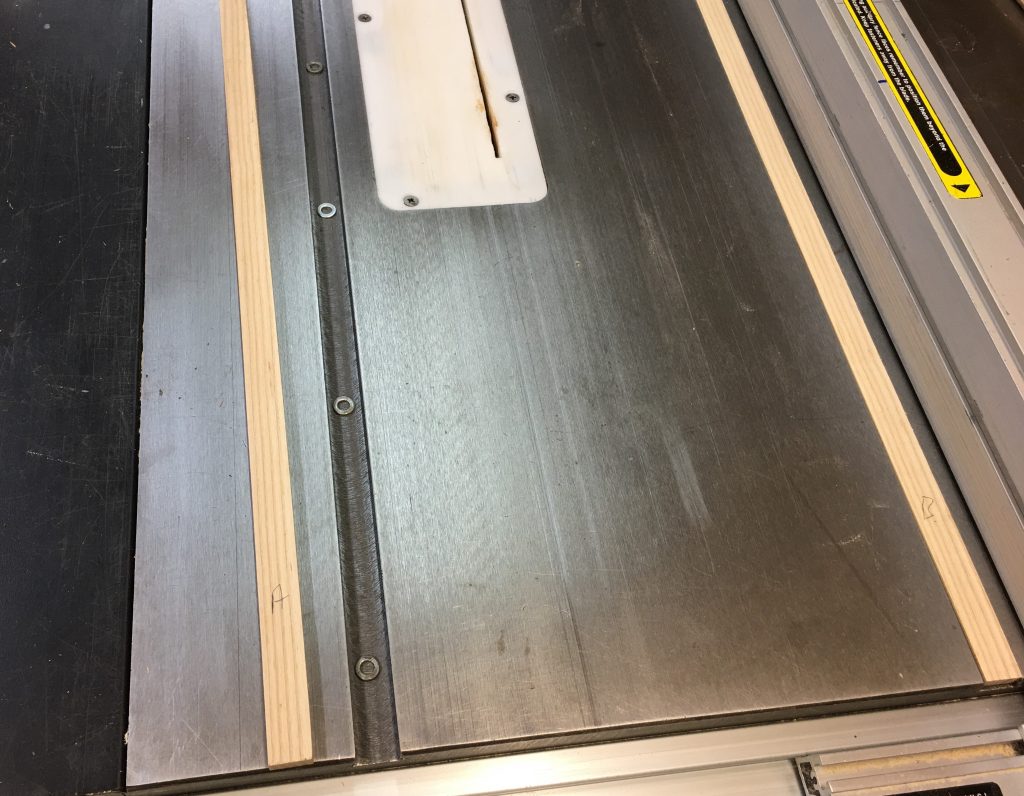
To construct the base first cut you board to fit your saw, then cut some runners to fit your mitre slots these can be made with either a hardwood or plastic and need to be tight enough so not to rattle from side to side but not so tight the bind as you run them along you mitre slot, they also need to fit just below the surface of your saw.
you will need one or two of these depending on your saw if you can use two slots it is better for accuracy.
Fitting these is relatively simple place a few washers that are the same thickness in your mitre slot these need to be thick enough to raise your runner just above your saw table, fit your runners into you mitre slots and put a few drops of wood glue on the top surface of the runners no too much as you don’t want any squeeze out using you fence as a guide place you base board on top of the runners and put a weight on top of it and leave until the glue cures.
When fitting the base try to go as far left of your blade as you slots allow because anything right of the blade will not be used for cutting
Once the glue has cured remove the jig from the saw and turn it upside down and secure in place with screws remember to countersink these as they need to be just below the surface. before going any further its good practice to check the fit sand them lightly until they run smoothly in your slot and then apply some wax to the runners this will help them slide freely in the slot
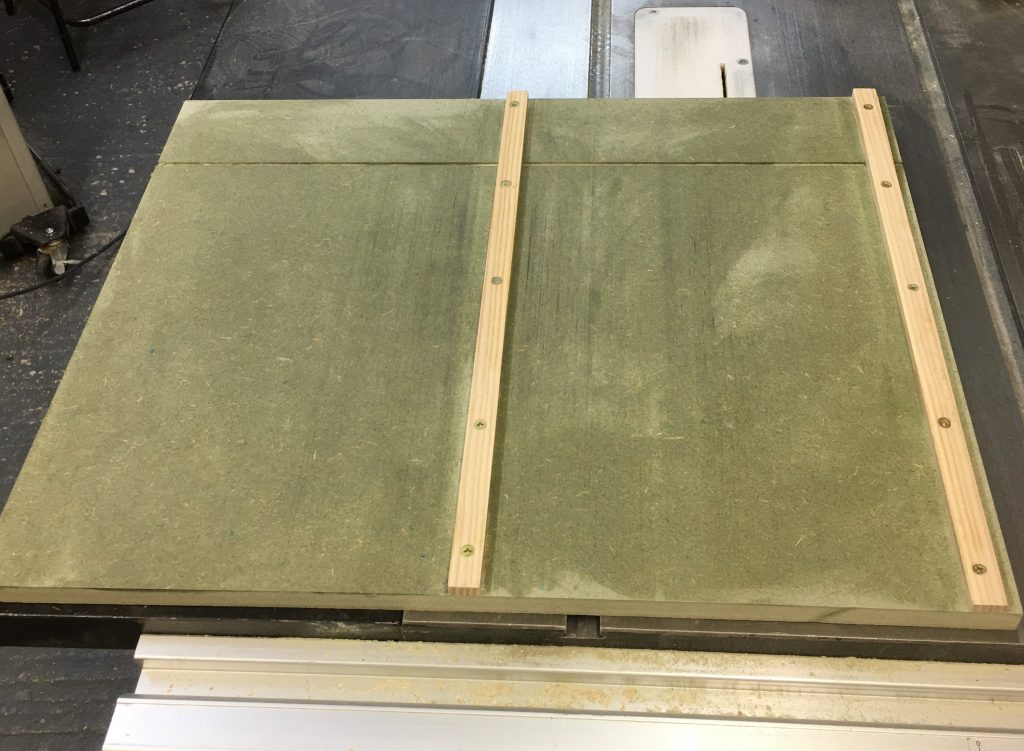
The Fence
At this point the best way to progress is to place you base on your saw located in the mitre slot and make a cut to roughly the center of the board, we can then use this cut to set the correct angle for the fence
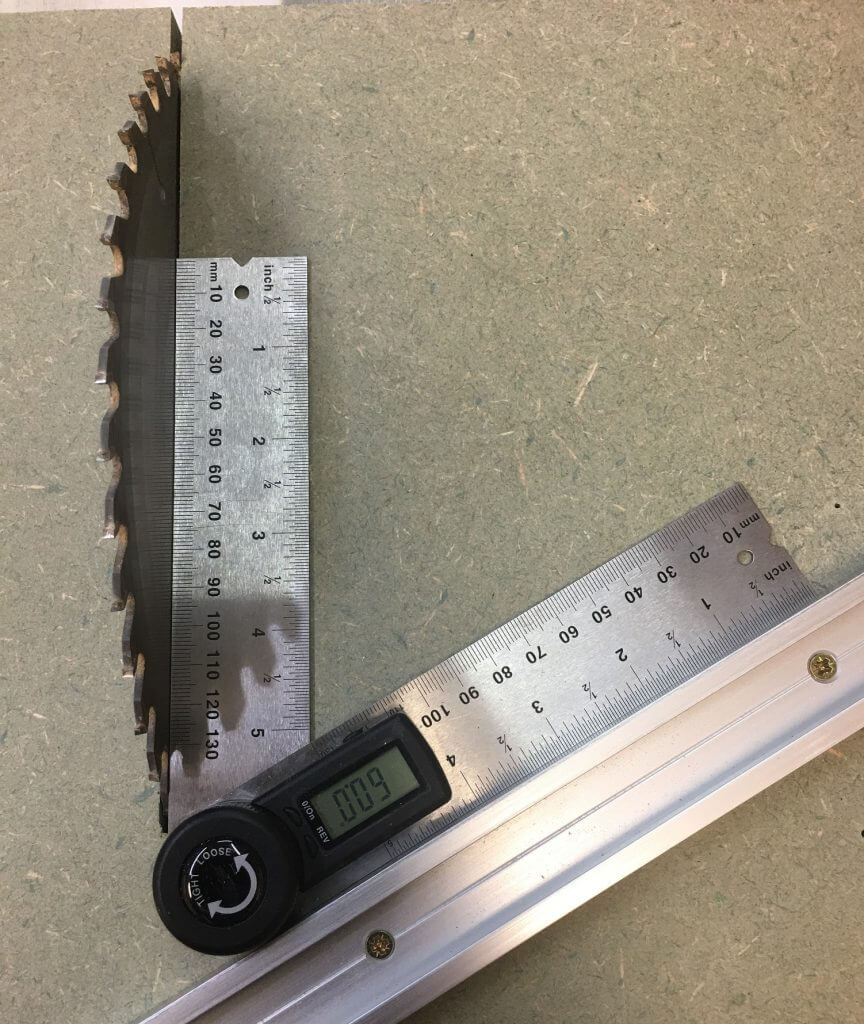
The correct angle for cutting hexagons is 60 Degrees
First I secured the left hand side of the T track to the base and then using a digital angle gauge I rotated the T track until it matched the angle and then secured the T track along its length ,
Don’t worry too much if you don’t have an angle gauge as this can be done using a protractor either way it is very important to take your time and get the angle correct.
if you are not using T track then simply set the front board at the correct angle and then set a second board 19 mm behind the front board to form a slot.
The next stage for me was fitting the front or waste board, in my case it is a 50 mm wide strip of 12 mm plywood this just gets screwed down in front of the T track ensuring you do not place any screws in the path of the blade.
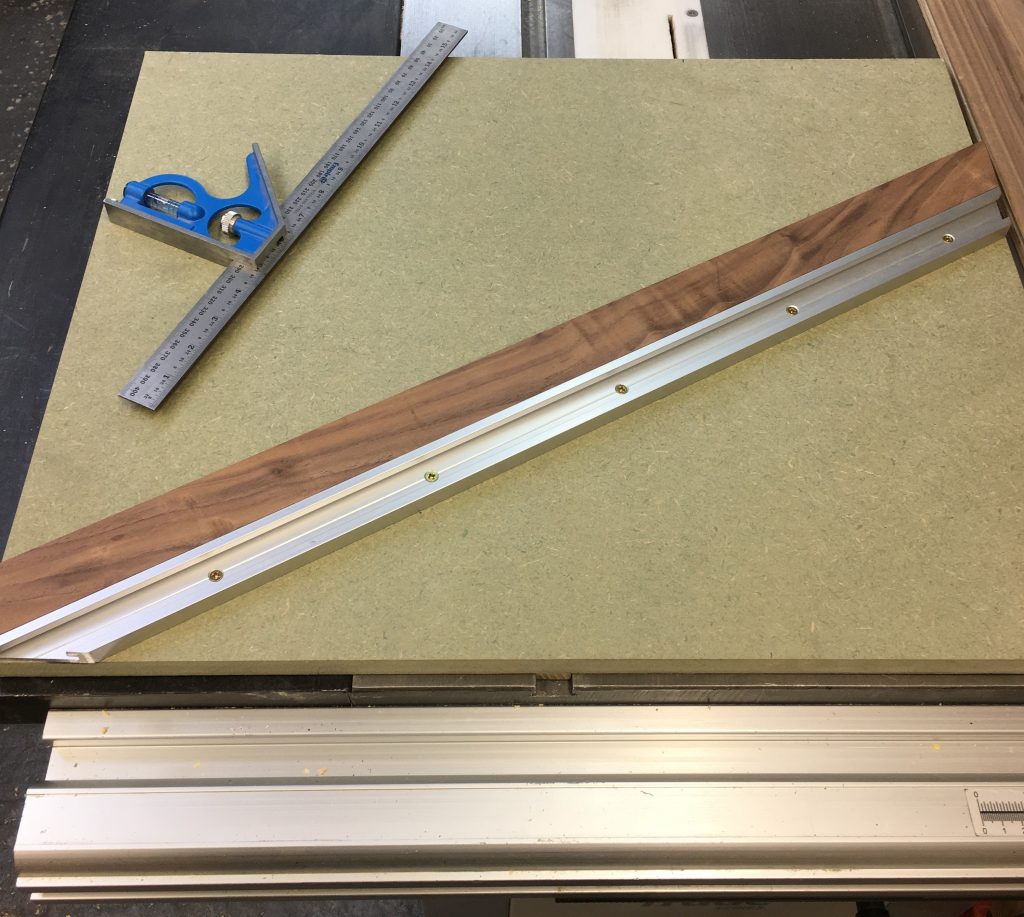
At this point we are pretty much done with the base, I added more boarding behind the T track for attaching a self adhesive tape measure to, and at some point I will route a handle into its surface to make it easier to pull back the jig after making a cut.
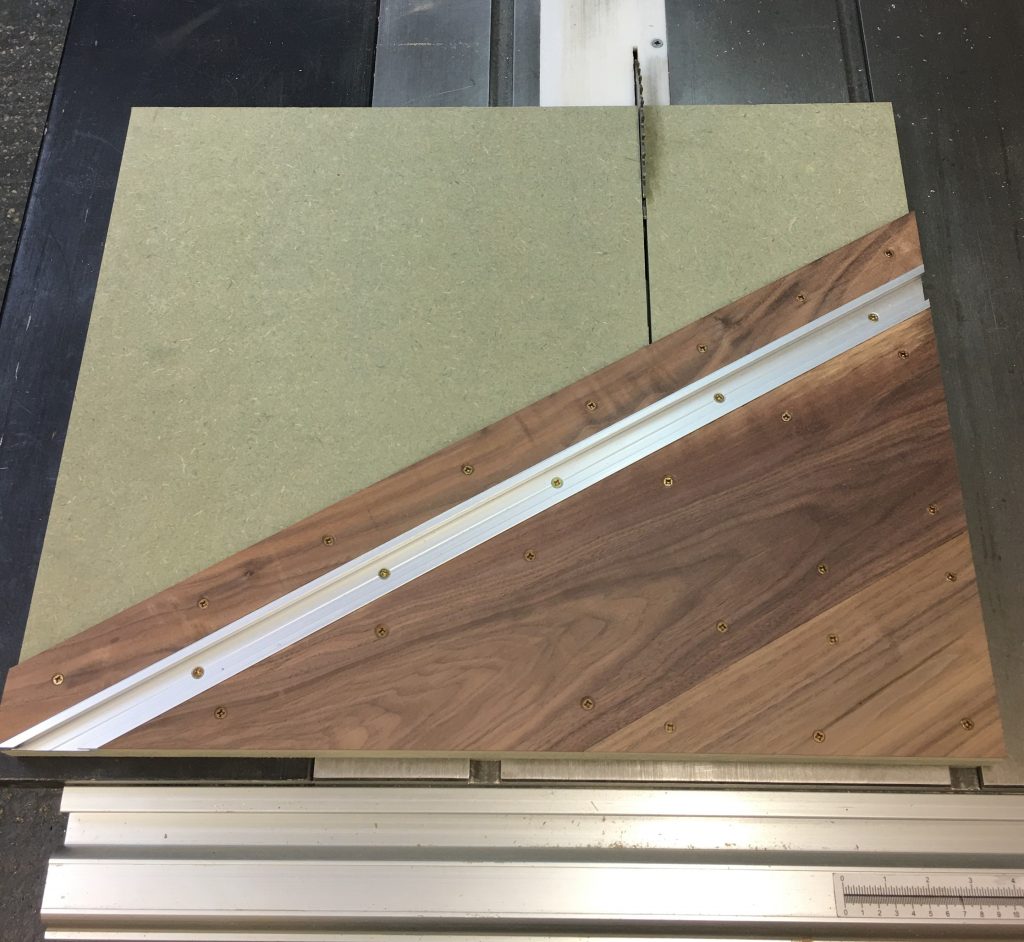
The Fence
This consists of another piece of plywood the same thickness as the waste board. The dimensions of which will vary from jig to jig, This needs to be cut with a right angle on one end the other end is down to personal preference, this I have secured this to the T Track using a 6 mm piece of perspex ( this could be any thickness of wood or rigid plastic you may have to hand ) again the critical point is the angle this needs to be at 90 Degrees to the waste board
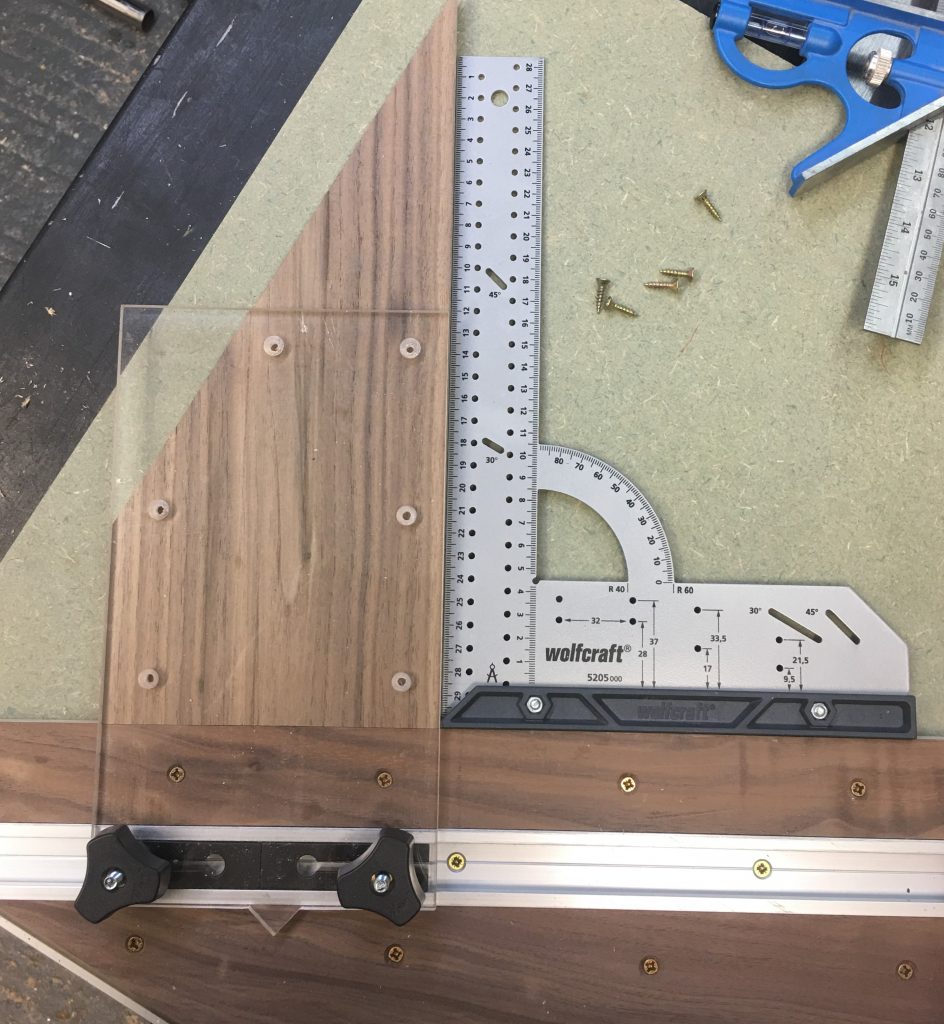
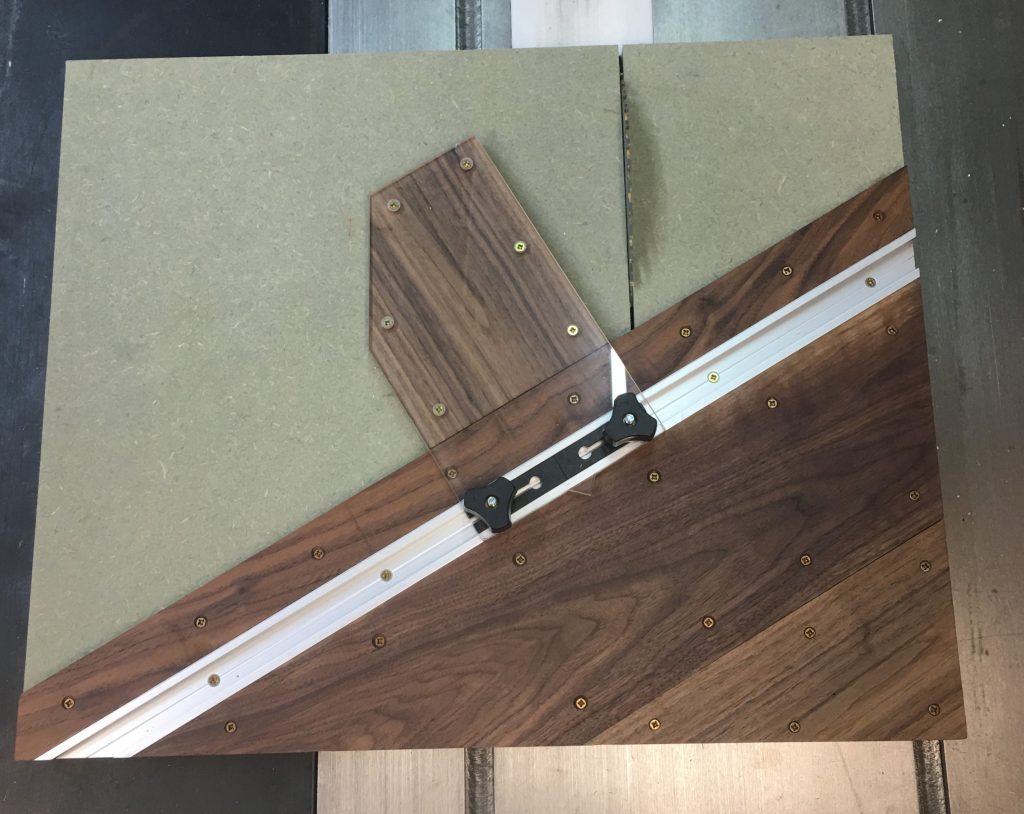
The perspex is secured to the T track using pinch clamps I have cut out a little pointer on the end of the perspex to work with the self adhesive tape to be fitted after I have done a few test cuts,
Note: Its better to fit the perspex or wood to the t track before screwing it to the Plywood that way you can correct any error you may have got when drilling the holes for the clamp screws.
Using the jig
To use this jig and not get a lot of waste we create blanks sized to suit the hexagon required, for example if we want to cut a hexagon with a side length of 50 mm we cut a blank that is 100 mm long by 86.6 mm wide ( see downloadable table for more sizes )
Once you have created the blank we need to setup the jig to cut that blank the easiest way I have found to date is to draw a line longways down the center of the blank, in the above example that would be at 43.3 mm.
then place the blank on the jig and slide it towards the blade ( with the machine switched off! ) until the inside edge of the cut slot in the base lines up with the center line on the blank, secure the locking screws on the T track we then proceed to make the first cut, once this has been done we flip the blank so that the bottom of the blank now become the top and we make the second cut once completed we again flip the blank but this time end to end so the uncut end faces the blade again we make the two cuts flipping it upside down halfway through.
at this point we should have a hexagon but I would measure the sides to ensure they are indeed 50 mm, quite often you will have to adjust the jig a couple of times until you get the correct measurement.
for me at this point I will be setting my self adhesive tape in place with the pointer pointing to the 100 mm mark from that point on you can use the tape measure on the jig for set up.
Afterthoughts
Not a fantastic how to but I hope it is enough for people to build their own I will be adding to and editing this guide over the next few days and I will upload a video of the jig in use,
On this version I will be adding a toggle clamp to secure the work piece although I have found it is not required when using the other jig on the bandsaw.
Feel free to leave me a comment on your thoughts on this, or any suggestions on how it could be improved.
You can also find us here
Instagram Spirit & Bear
Pinterest Spirit & Bear
YouTube Spirit & Bear

