Hello! I’m Kez from Spirit & Bear.
In this blog post I’m going to run thorough a few of the basics of wood burning for beginners. I get asked lot of questions about what tools to use, and what types of woods are the best for pyrography. I will also share with you how to prepare your wood, and safety gear.
Wood Burning Kits
“Which wood burner should i use?”
This has to be the question i get asked the most, and to be honest an inexpensive one like the Weller hobbyist kit from Amazon will do perfectly fine.
They are great for getting used to the heat and the different types of wood, and come with a range of tips too.
Starter kits.
There are many wood burners on the market, ranging from £10 for Aldi specials, up to the £500 mark for a professional burner. You don’t ever have to upgrade to a professional burner. There is some amazing pieces of work done with a basic burner. I have both basic and professional tools and use them both on a regular basis but it all comes down to personal preference.
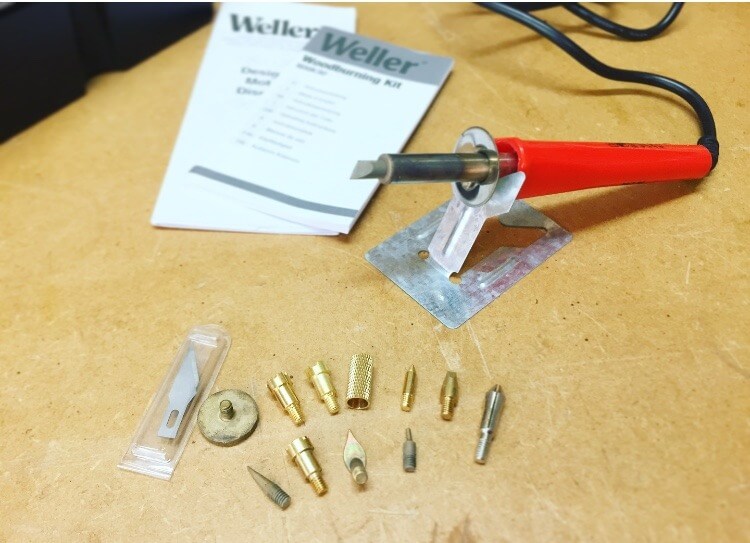
The basic burners don’t get quite as hot as the professional burners. Some of them don’t come with a temperature control either. With practice you can still achieve the same results, its just not as fast and you have to take your time. Just take your time to experiment with your burner and tips to find out what works best for you.
Remember to be careful when screwing your tips in and out when the burner is hot. Its possible to cross thread the burner which means you wont be able to put another tip in. I’d advise that you wait until your burner is cold before changing the tips over.
Remember to try out your tips before you start any big projects. It always helps to have some scraps to test on before you burn your best piece. You can use the scrap wood to test the heat of the tips and practice your techniques before you burn onto your project.
Professional burners.
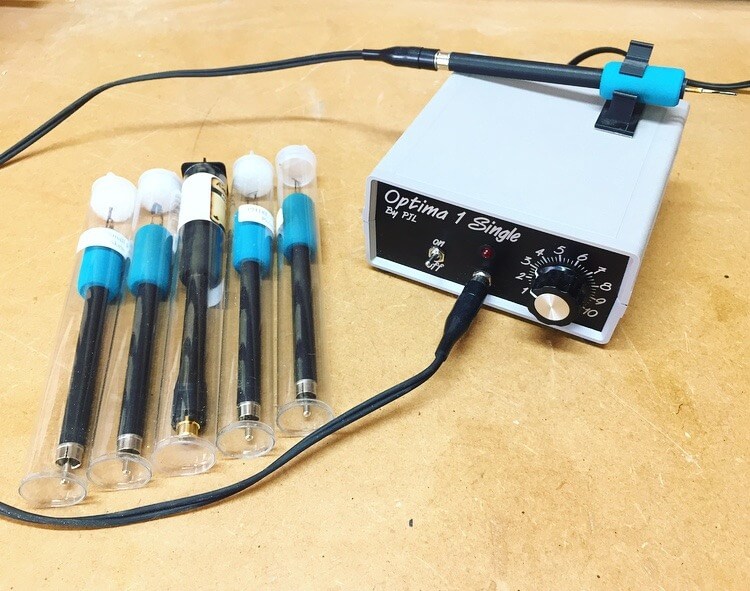
The more professional burners have more options. They also have interchangeable pens that can been brought separately. There is wide selection The professional burners heat up and cool down a lot quicker than the basic ones. The Optima takes around 5 seconds. Where as the basic Weller one can take several minutes to heat up or cool down.
Everyone has their own tip preferences, so make sure you try them out. Below are 2 of my favourite tips. The Small Spoon shader on the left and the Small ball point on the right.
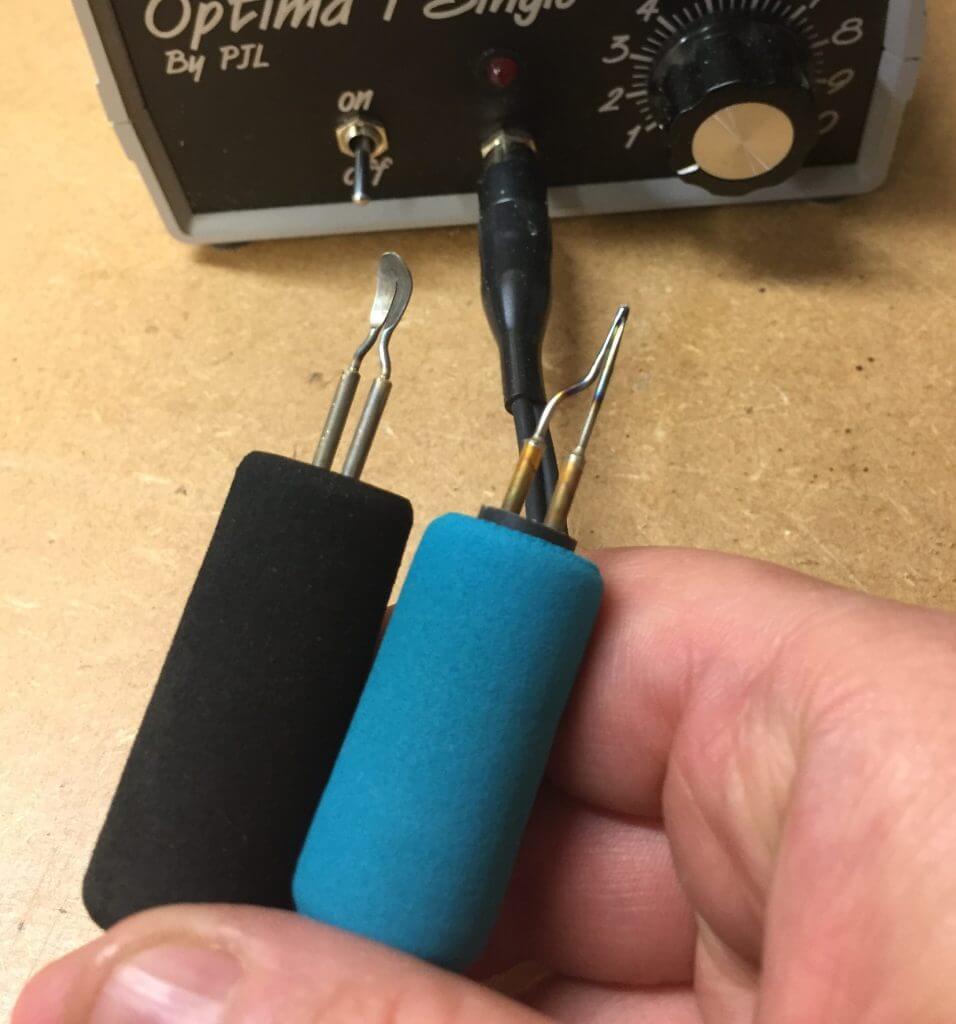
Right – Optima small ball point stylus
There are many other professional burners on the market so pick one that suits you.
Peter child
Razor Tip
Optima 1
Types of wood.
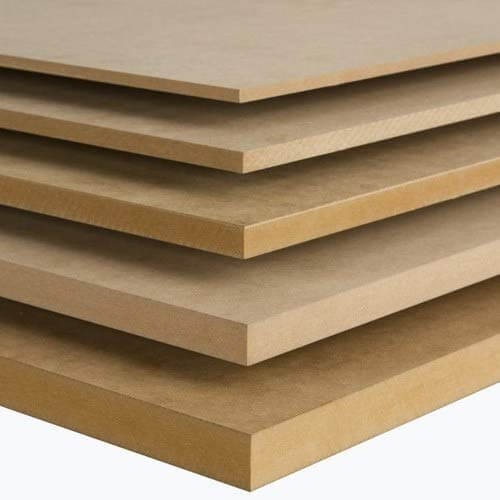
Saftey Tip No 1:
Don’t burn on Medium Density Fibreboard or MDF as its commonly known as! It is extremely dangerous and releases toxins from the chemicals in it, when burnt.
Saftey Tip No 2:
Don’t burn on any wood that has been treated or has any kind of finish on it. This can also release chemicals that can be toxic when inhaled.
Popular woods to burn.
There are many different woods to choose from. So I’m just going to list a few common woods that are easily accessible from your local craft, or hardware shops. Just remember there is no ‘best’ wood to burn on, it all comes down to personal preference.
Pine
Pine is one of the least expensive, and easiest to find to start you off. Just bear in mind that with a wide grain pattern it can be a little tricky to navigate the burns. (especially straight lines)
Birch
Birch is a great to burn on, and often sold as birch slices. The colour is nearly white, which makes the burns stand out and the grain pattern is straight or slightly wavy. The end grain has nearly no colour distinction between the growth rings. There for has a uniform appearance. This makes it easier to navigate the burns.
Hard Maple
Hard maple has a very light colour, it ranges from a nearly white colour to an off white cream colour. The grain is generally straight but can be a bit wavy and has a fine even texture. This is makes it easy to work with when wood burning.
This list could go on and on, there are so many more woods that you can burn, but just remember! It all comes down to what you prefer. So try a few different woods and find the one you like best.
Preparing the wood surface.
Before you start burning your wood been sure to sand it first. Going down the sand paper grits to a 320 will ensure you have a nice smooth work surface. This just helps your burning tool to glide over the wood with ease. You can take it down the grits further if you wish. If you prefer to go down the grits further then by all means, go for it! You do wants best for you. Personally I find 320 is enough for any projects that I do. Then all you need to do is just wipe it over with a cloth and your ready to go.
Safety equipment
Before you start burning you may want to invest in some safety equipment. Gloves are a good thing to have handy. When you are burning your wood the pen on the wood burner gets hot.
A reliable respirator mask that is designed to seal out toxic smoke. The filters in the masks can be for different things, so be sure to check that the mask you buy is for smoke.
A fan is also something that is handy to have. You can put it next to your working area and the fan pulls the smoke away from you and blows it out. I use a 320mm computer fan mounted onto a wooden base. I generally use it near my workshop door so it pulls the smoke away from me and blows it towards the door.
Summary
Remember safety first and Use your safety equipment!
Have fun and experiment with different woods types. A selection pack from your local craft shop to practice on may be an idea if you don’t have a lot of different woods to hand.
You don’t need an expensive wood burner to start with, an inexpensive one will do just fine.
And last of all …..practice ….. practice ….. practice … while having fun, of cause, it doesn’t have to be perfect because there is no ‘right’ way to make art, only your own way! 🙂
